
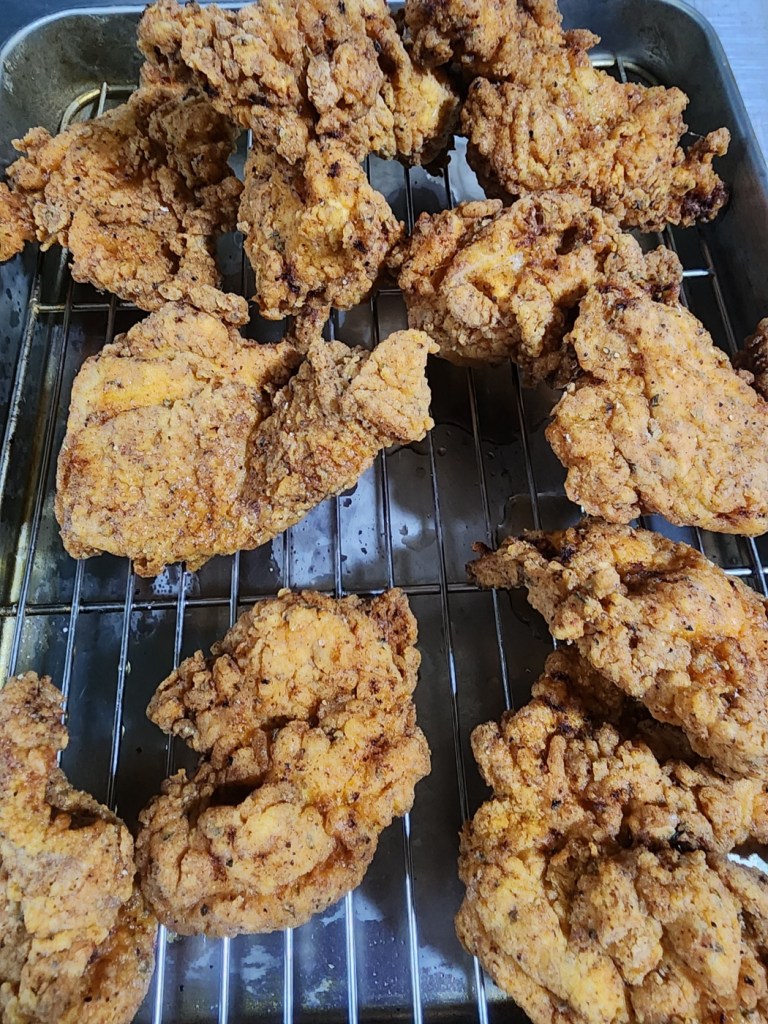
I’ve written down the development process and cooking method for the menu I once sold under the name Bohemian Chicken. It took roughly twenty rounds of refinement to get the flavor right. When I sold it in Korea, the response was strong — it sold well, had healthy margins, and was simple to prepare in practice.
You’re welcome to use the recipe itself. But more than that, I wanted to share how I thought through the problems and worked my way toward a solution. I hope the process behind it proves helpful to you as well.
1. Characteristics of American vs. Korean Fried Chicken
American fried chicken typically uses large bone-in parts like drumsticks and wings. It’s brined in buttermilk and double-breaded with flour and cornstarch, then fried once. The result is a thick, crispy crust with juicy, well-seasoned meat inside.
Korean fried chicken, on the other hand, often uses smaller pieces and focuses heavily on sauce.
The batter is thinner—flour plus starch—and the chicken is double-fried: first at a low temperature (~160°C), then again at 170–180°C. This removes moisture so that the sauce (often sweet and spicy with corn syrup) doesn’t make it soggy. After frying, it’s glazed for that glossy, sticky finish. I started from the American model but adapted it for Korean market conditions. Why?
- If you’re going to sell fried chicken, the crust and juiciness must shine—American style is simply better in that regard.
- Korean sauces are great, but the process of applying them adds cost, complexity, and labor inefficiencies.
So I decided: no korean style sauced chicken.
2. Toyota Style optimization
(0) Raw Cost Optimization
Korean bone-in fresh chicken: 6,000 KRW/kg Vs. Brazilian boneless frozen thigh: 4,500 KRW/kg. With American-style deep breading, I can achieve similar portion sizes using just 500g of chicken per order. This keeps ingredient costs at 2,000–2,500 KRW with a high retail price, improving margins.
(Note: As of 2026, the price has risen to the 8,000 won range per kilogram. If I had continued the business, it seems it would have been difficult to avoid a rise in the cost ratio)
(1) Low Drip Defrosting
Research shows that thawing at -2°C minimizes juice loss by reducing osmotic pressure differences. I achieve this by placing vacuum-sealed chicken in 3% brine—similar to seawater—which lowers the freezing point and preserves flavor and texture.
(2) Making Buttermilk
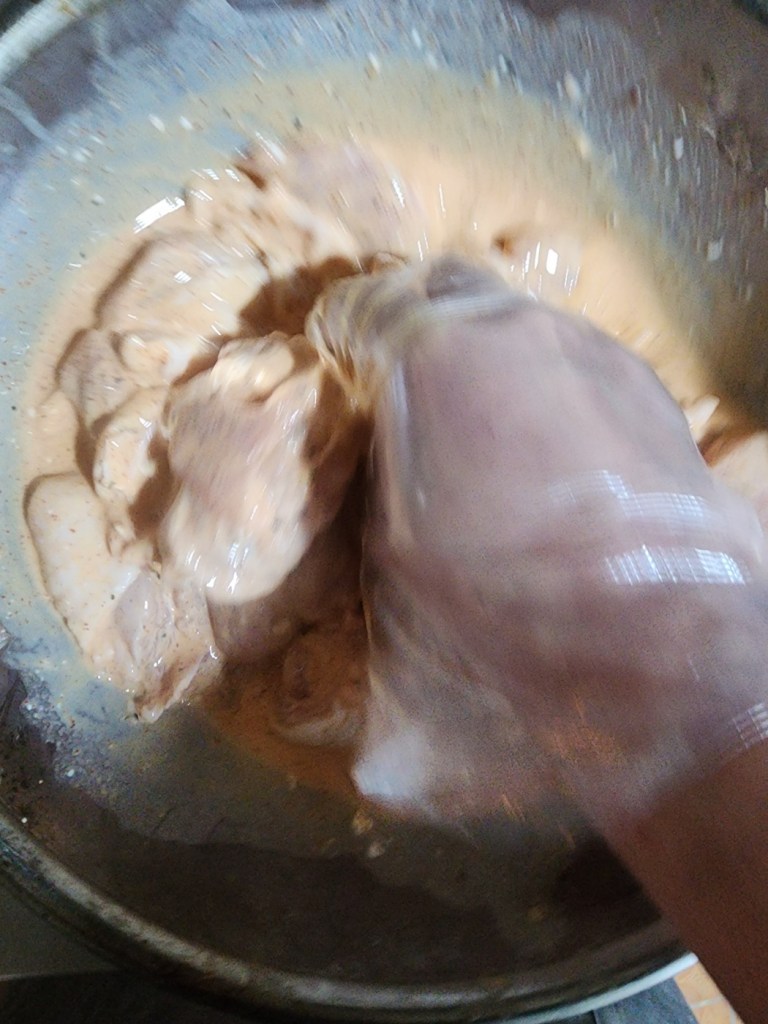
I don’t use classic buttermilk. Instead, I mix sour cream (high-fat, acidic) with milk. At a 1:1 ratio, the marinade was too rich—almost mealy. By gradually reducing the sour cream amount by 10g increments, I found the sweet spot. All other variables (time, temp) remained constant.
(3) No Eggs
Many recipes include eggs in the brine, but I found them unnecessary. Sour cream already adds viscosity. With proper hand-coating and cold water (or sparkling water) for dredging, adhesion is fine. Result: still crispy, no eggs.
(4) Progressive Salting
Initial salt level: 2.5%. But after 2–3 days, I noticed fading saltiness. This was due to salt diffusion equilibrium—salt moves into the meat, but after a point, the exchange slows and perceived flavor drops. To compensate, I added 1 g more salt during pre-service prep (~3 hours before frying), and it balanced out nicely.
(5) Sauce Strategy
Koreans love sauced chicken, but I don’t apply it post-fry. Instead, I serve sauce on the side. This avoids degrading the crust and simplifies workflow.
(6) The 5 Why Method
This isn’t “the best chicken recipe.” It’s just my logical approach—asking:
- Why is this step necessary?
- Can I remove or reduce it?
- What purpose does each element serve?
That’s the core of the Toyota Production System: the 5 Why Method.
3. Does This Chicken Works ?
As chef for 7 years, I optimized for crunch, speed, and profitability. Requires only basic equipment in the kitchen. 10% food cost even if you discard unused batches. Loved by customers from the U.S., Germany, India and Brazil.
4. Ingredients
(1) Seasoning Mix
- 1 TBS paprika powder
- 1 TBS white pepper
- 1 TBS black pepper
- 1 TBS garlic powder
- 1 TBS curry powder
- 1 TBS cayenne pepper
(2) Buttermilk Brine (no expensive egg needed !)
- 40g sour cream + 160g milk
- 5g salt (adjust to 6g if necessary)
- 0.2g MSG (0.3g if you like more umami)
- 5g cornstarch
(3) Dry Mix
- 200g all-purpose flour
- 200g cornstarch
- 1 tsp salt
- 2g MSG (Tip: cornstarch is key of crunchness. Skip baking powder—it darkens the crust too fast.)
5. Preparation
Step 1: Wet Brine (Min. 6 hours)
- Mix your buttermilk and 1 TBS of the seasoning blend. Add 1kg boneless chicken thighs (or bone-in if you prefer). Let it sit for at least 6 hours in a ziplock in the fridge.
- Shelf-life strategy: As day goes by, it become less salty. Day 1: 5g salt -> Day 2: +1 g -> Day 3: Discard if unsold
Step 2: Breading + Frying
“Cold” and “carbonated” is the secret. Mix the remaining seasoning with the dry mix. Store it in an airtight container. Shake well before each use to avoid clumps. Prepare a bowl of cold sparkling water.
- For each batch (500g chicken = 2 servings): → Dry mix → cold sparkling water → dry mix again (double breading) → Press firmly to cover the meat—no skin should be visible.
- Let the breaded chicken rest briefly while you preheat your oil. Fry at 170°C (338°F) for exactly 4 minutes. Check internal temperture: 72°C (160°F)
- Don’t forget: After breading, shake off loose flour to avoid oil burnout. Peanut oil is great but really expensive, not necessary. Standard vegetable oil works fine.
6. Serving Tip
Serve with sweet chili sauce to balance the salty-spicy profile. The chicken is built for umami and crunch—a touch of sweetness completes the rhythm.
7. Operation Strategy
Prepare the chicken in one-kilogram lots and store the batches in ziplock bags. Each bag must bear a date label. Sell the product within two days, and discard any remaining stock after the third day. Tested in Korea, the cost ratio stands at approximately 10%. This margin ensures profitability even if half of the day’s production is discarded or consumed internally. This item does not function as a mere side dish. It serves as an anchor menu designed to drive beer sales and establish the brand identity.
8. Final Note
This is a plug-and-play system for bar owners. Simple tools. Low risk. High impact. I hope you can make profit from this recipe.

If you enjoyed this article, you can support the project – thank you!